Dispatcher Configuration on Apache2 Server
Let’s start:-
Firstly, you have to install Apache2 server on your Ubuntu machine using this command-
Now type the command-
Now hit a url in a web browser-
http://localhost
You will get apache2 welcome screen as shown in figure-
Now download the dispatcher package from this link-
https://www.adobeaemcloud.com/content/companies/public/adobe/dispatcher/dispatcher.html
If you are using the apache2 version 2.4.10, you have to download dispatcher version 4.1.9
Extract this *
In this folder you have a file dispatcher-apache2
The location of this file will be like as shown in figure-
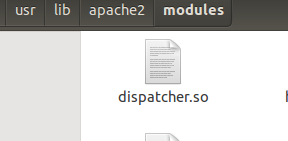
Copy and paste this dispatcher
Before
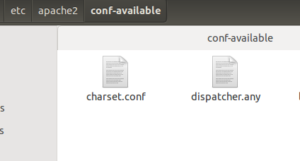
Now copy an another file named as
Again, if you
Now you can easily paste your file in this directory and all those directories which are placed into appache2 directory. The location of this directory is shown in figure-
“In this file you have to change the port number to 4503 as the default number 8080”.
After this, you have to create a soft link of
ln -s /etc/apache2/conf-available/dispatcher.any /etc/apache2/conf-enabled/dispatcher.any
It will look like this-
Now create a dispatcher
LoadModule dispatcher_module /usr/lib/apache2/modules/dispatcher
It will look like this-
“Note: – This file will be used to load dispatcher module on Apache2 server”.
Now create a soft link in mods-enabled directory using this command-
ln -s /etc/apache2/mods-available/dispatcher.load /etc/apache2/mods-enabled/dispatcher.load
It will look like this-
Now open apache2-
<Directory />
<
SetHandler dispatcher-handler
</
Options FollowSymLinks
AllowOverride None
</Directory>
Now open ports
<
</
Now go to /
Add one more line in this file-
127.0.0.1 publish.sjigaurav.com
You can add anything whatever you want at the place of publish.sjigaurav.com.
Now configuration is complete you can restart your apache2 server using this command-
Go to your web browser and hit the url publish.sjigaurav.com you will find the welcome screen.
It starts successfully.
Be Happy


Recent Comments