How to trigger mail dynamically using Sendgrid and Amazon AWS?
Use case:-
Here we are taking a general use case. Let’s say we have a site where authors can submit their books for publishing. In the database their books table structure is as follows.

While submitting the book, the author has to fill in the details like book name, description, author name and mail.
BOOK_ID is the auto generated primary key and IS_PUBLISHED is the book status which tells us if a book is published or not. It will be either YES or NO.
Here are some sample records with two books having IS_PUBLISHED status as YES and the last one is having status as NO.

So if the IS_PUBLISHED status is YES we have to send mail to the author.
Solution Summary:-

To achieve this we will be using AWS, Sendgrid and Oracle.
1. We will create an event bridge which is triggered every 15 minutes and will call a lambda function.
2. The lambda function will connect to oracle db and call the procedure which will give us the records in the books table.
3. After getting the records we will then filter the records on the basis of IS_PUBLISHED status and add the records with YES status to sqs queue.
4. The SQS queue will again call the other lambda function. This lambda function will take the value one at a time, add the dynamic data to email templates like author_name and bood_name.
5. Then it will call the sendgrid api to deliver the email to the user.
Step 1 : Creating lambda functions
1. Goto AWS and login, then search Lambda
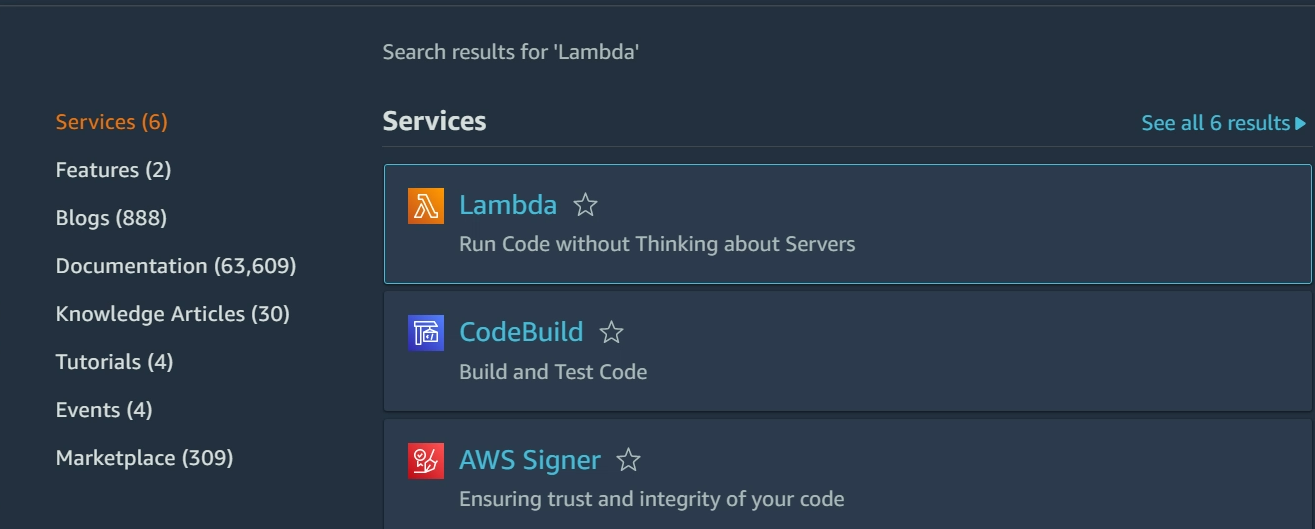
Now click Lambda and it will redirect to the Lambda page.

2. Click on Functions on the left side.

3. Click on Create functions.

4. Select the type of lambda from the given options
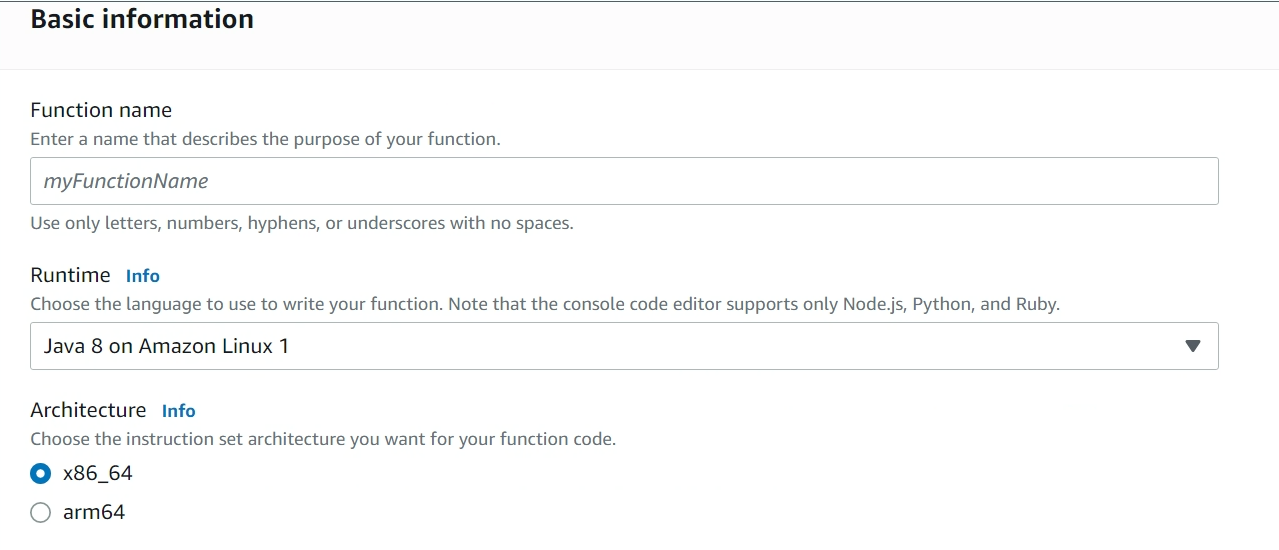
5. Enter the lambda name, runtime environment(programming language we want to use) and architecture.

6. Then click the create function button.
7. Now create another lambda function same as above.
(For more info on AWS lambda functions visit :- https://docs.aws.amazon.com/lambda/latest/dg/getting-started.html)
Step 2 : Create event bridge which fires every 15 minutes

1. Search Eventbridge.


2. Click on Amazon EventBridge, then click on Rules.

3. Click on Create Rule

4. Now we have 5 steps which we have to follow
(i) Define rule detail

Add the lambda name, description and type of rule.

(ii). Define Schedule

Select the schedule pattern and the scheduled time accordingly.
(iii) Select targets


In target types we need to select AWS service, and in select a target we will select Lambda function
After that we need to select the lambda function name in the Function dropdown.
(iV) Configure tags
We can add tags here or we can skip it.

(v) Review and create
In this step we can review all the configurations we have till now for the eventbridge creation. Then click create.
(For more info on eventbridge visit :-
https://docs.aws.amazon.com/eventbridge/latest/userguide/eb-create-event-bus.html)
Step 3 : Create Amazon SQS

1. Search SQS and click on Create queue.

2. Select the type of queue, here we are selecting the fifo type.
3. Now enter the configuration like name, visibility timeout, message retention period, delivery delay, maximum message size, receive wait time, etc.
Then click create queue.


4. The queue is create
(For more info on SQS visit-:
https://docs.aws.amazon.com/AWSSimpleQueueService/latest/SQSDeveloperGuide/step-create-queue.html)
Step 4. Sendgrid Configurations and Email Template


1. Goto Sendgrid( https://app.sendgrid.com ).
2. Click on settings in the left side panel, then click API keys. Now here we need to create API keys if it does not exist or does not meet the requirement.
To create the API key follow this documentation ( https://docs.sendgrid.com/ui/account-and-settings/api-keys)
3. Once the api key is generated, now we need to create an email on which we can perform dynamic personalization.
4. To create an email template, goto sendgrid homepage and click Email API from the left side panel and then select Dynamic Template.
5. Now click on Create Dynamic Template.


6. Then provide the template name
7. Then click on Add Version
8. Now select the template, here we have selected the Blank template.
9. Then select the Code Editor in Editing Experience
10. Once the template is created we will be changing the code in the HTML editor to our requirement.
Here we have used the following mail template code.
<html>
<head>
<title>Email Template</title>
</head>
<body>
<p>Dear {{{author_name}}},</p>
<p>Your book {{{book_name}}} has been published.</p>
</body>
</html>

In the above code I have highlighted {{{author_name}}} and {{{book_name}}}, this is used when we need to pass dynamic data.
In sendgrid click on Test Data.
Here we have provided the below json,
{
“Subject” : “Sample Mail trigger, Book Published!”,
“author_name” : “Tanner Christos”,
“book_name” : “Quisque interdum”

}
After saving it will render as follows,
11. In the above image, we can see that instead of {{{author_name}}} and {{{book_name}}} we are able to see the values which we have provided in json.


Now we can also see that Subject is also coming and is the same as what we have provided in json.
To give a dynamic subject, click on settings on the left side.
Then give the subject value as {{{Subject}}}
We can also test the mail template which we have created
1. Click on Settings

2. Click on Test your mail
3. Give the proper mails in From Address and To Address, then click on Send Test Message.
You should be able to see the success message on top of the screen and also got the mail in your inbox.
Sendgrid configurations and email template work is done here.
Step 5. Code Implementation for Lambda functions
1. First Lambda function (GetRecordsFromDatabase)
In this Lambda function,
i. we make a connection with the oracle database, execute the procedure and get the results.
ii. While iterating over the result we need to check if the IS_PUBLISHED status is YES. Only if it is YES then we move forward otherwise skip that record.
iii. Get the values like bookId, book name, author name and author email from the result.
iv. Add the above data to sqs queue using SqsClient class.
v. If the above step is done we will update the IS_PUBLISHED status to SUCCESS in oracle db else we will update it as FAILURE.
In the below implementation, we are calling two db procedures.
i. fetch_book_records() :- This procedure fetches all the records present in the books table.
ii. update_book_status(?,?,?) :- This procedure updates the IS_PUBLISHED status for a particular book id in the books table.
import com.amazonaws.services.lambda.runtime.Context;
import com.amazonaws.services.lambda.runtime.LambdaLogger;
import com.amazonaws.services.lambda.runtime.RequestHandler;
import oracle.jdbc.internal.OracleTypes;
import org.json.JSONObject;
import software.amazon.awssdk.regions.Region;
import software.amazon.awssdk.services.sqs.SqsClient;
import software.amazon.awssdk.services.sqs.model.MessageAttributeValue;
import software.amazon.awssdk.services.sqs.model.SendMessageRequest;
import java.sql.*;
import java.util.HashMap;
import java.util.Map;
import java.util.Properties;
public class GetRecordsFromDatabase implements RequestHandler<Object, String> {
public static final String STRING = “String”;
public static final String TASK_CREATED = “TASK CREATED”;
public static final String NOTIFICATION = “Notification”;
public static final String SUCCESS = “Success”;
Connection conn = null;
@Override
public String handleRequest(Object input, Context context) {
Properties props = new Properties();
String jdbc_url = “jdbc:oracle:thin:@localhost:1521:orcl”;
String jdbc_user = “username”;
String jdbc_pwd = “password”;
props.setProperty(“user”, jdbc_user);
props.setProperty(“password”, jdbc_pwd);
try {
Class.forName(“oracle.jdbc.driver.OracleDriver”);
conn = DriverManager.getConnection(url, props);
CallableStatement statement = conn.prepareCall(“{call fetch_book_records()}”);
statement.execute();
ResultSet resultSet = (ResultSet) statement.getObject(1);
while (resultSet.next()) {
if (!resultSet.getString(“is_published”).equals(“YES”)) {
continue;
} else {
String bookId = resultSet.getString(“book_id”);
String bookName = resultSet.getString(“book_name”);
String authorName = resultSet.getString(“author_name”);
String authorEmail = resultSet.getString(“author_email”);
SqsClient sqsClient = SqsClient.builder().region(Region.EU_WEST_1).build();
final Map<String, MessageAttributeValue> messageAttributes = new HashMap<>();
messageAttributes.put(NOTIFICATION, MessageAttributeValue.builder().dataType(STRING).stringValue(eventName).build());
JSONObject msgJson = new JSONObject();
msgJson.put(“bookId”, bookId);
msgJson.put(“bookName”, bookName);
msgJson.put(“authorName”, authorName);
msgJson.put(“authorEmail”, authorEmail);
System.out.println(“Message Json : ” + msgJson);
try {
sqsClient.sendMessage(SendMessageRequest.builder()
.queueUrl(“https://sqs.us-east-2.amazonaws.com/123456789012/sampleQueue“)
.messageBody(msgJson.toString())
.messageAttributes(messageAttributes)
.delaySeconds(10)
.build());
updateUserStatus(bookId, “Success”, authorEmail);
} catch (Exception e) {
System.out.println(e.getMessage());
updateUserStatus(bookId, “Failure”, authorEmail);
}
}
}
statement.close();
System.out.println(“Stored procedure called successfully!”);
} catch (Exception e) {
System.out.println(e.getMessage());
} finally {
try {
conn.close();
} catch (SQLException e) {
System.out.println(e.getMessage());
}
}
return SUCCESS;
}
private void updateUserStatus(String bookId, String bookStatus, String emailId) {
try {
CallableStatement statement = conn.prepareCall(“{call update_book_status(?,?,?)}”);
try {
statement.setInt(1, Integer.parseInt(bookId));
statement.setString(2, bookStatus);
statement.registerOutParameter(3, java.sql.Types.VARCHAR);
statement.execute();
String status = statement.getString(3);
System.out.println(“User status updated: ” + status);
} catch (Exception e) {
System.out.println(“Error : Exception ” + e.getMessage());
} finally {
statement.close();
}
} catch (SQLException e1) {
System.out.println(e1.getMessage());
}
}
}
2. Second Lambda function (SendMailToUser)
In this Lambda function,
i. We take one object from sqs queue. Get the book details.
ii. Create the dynamic personilization. Add the sender and receiver information.
iii. Initialize the sendgrid object and trigger the mail.
import com.amazonaws.services.lambda.runtime.Context;
import com.amazonaws.services.lambda.runtime.LambdaLogger;
import com.amazonaws.services.lambda.runtime.RequestHandler;
import com.amazonaws.services.lambda.runtime.events.SQSEvent;
import com.amazonaws.services.lambda.runtime.events.SQSEvent.SQSMessage;
import com.fasterxml.jackson.annotation.JsonProperty;
import com.sendgrid.*;
import org.json.JSONObject;
import software.amazon.awssdk.regions.Region;
import software.amazon.awssdk.services.sqs.SqsClient;
import software.amazon.awssdk.services.sqs.model.MessageAttributeValue;
import software.amazon.awssdk.services.sqs.model.SendMessageRequest;
import java.util.Collections;
import java.util.HashMap;
import java.util.Map;
public class SendMailToUser implements RequestHandler<SQSEvent, String> {
@Override
public String handleRequest(SQSEvent event, Context context) {
for (SQSMessage msg : event.getRecords()) {
JSONObject respJson = new JSONObject(msg.getBody());
String authorEmail = emailJson.optString(“authorEmail”);
String authorName = emailJson.optString(“authorName”);
String bookId = emailJson.optString(“bookId”);
String bookName = emailJson.optString(“bookName”);
DynamicTemplatePersonalization personalization = new DynamicTemplatePersonalization();
Email from = new Email();
String subject = “Sample Mail trigger, Book Published!”;
Email to = new Email();
to.setName(“”);
to.setEmail(emailAddress);
personalization.addTo(to);
personalization.setSubject(subject);
personalization.addDynamicTemplateData(“subject”, subject);
personalization.addDynamicTemplateData(“author_email”, authorEmail);
personalization.addDynamicTemplateData(“author_name”, authorName);
personalization.addDynamicTemplateData(“book_id”, bookId);
personalization.addDynamicTemplateData(“book_name”, bookName);
Mail mail = new Mail();
mail.setTemplateId(System.getenv(“dn_template_id”));
from.setName(“Refinitiv Customer Notification”);
from.setEmail(System.getenv(“from_email”));
mail.setFrom(from);
mail.setSubject(subject);
mail.addPersonalization(personalization);
SendGrid sg = new SendGrid(“SENDGRID_API_KEY”);
Request request = new Request();
try {
System.out.println(“Inside sendgrid api call method for user : ” + authorEmail);
request.setMethod(Method.POST);
request.setEndpoint(“mail/send”);
request.setBody(mail.build());
Response response = sg.api(request);
System.out.println(response.getStatusCode());
} catch (Exception e) {
System.out.println(e.getMessage());
}
}
return “success”;
}
private static class DynamicTemplatePersonalization extends Personalization {
@JsonProperty(value = “dynamic_template_data”)
private Map<String, String> dynamic_template_data;
@JsonProperty(“dynamic_template_data”)
public Map<String, String> getDynamicTemplateData() {
if (dynamic_template_data == null) {
return Collections.<String, String>emptyMap();
}
return dynamic_template_data;
}
public void addDynamicTemplateData(String key, String value) {
if (dynamic_template_data == null) {
dynamic_template_data = new HashMap<>();
dynamic_template_data.put(key, value);
} else {
dynamic_template_data.put(key, value);
}
}
}
}
Once the implementation of the lambda functions is complete we can upload the code by creating a bundle to their corresponding lambda functions.
Now all the implementation and configurations are done and our service will trigger every 15 minutes, check for the book status and fire an email to the author.
Output:-
A sample of the mail which we got after event bridge triggers for the first time.

By Satyam Chauhan
Recent Comments